세콤, 캡스, KT텔레캅 연동으로 손쉽게 출퇴근 하세요!


The In-Store Data Collection feature allows employees to easily collect Sales, Price, Inventory, and Display Status data through the App, while enabling Admins to monitor and analyze the data in real time.
Go to Dashboard > Feature Settings > In-Store Data Collection, then select and enable the features you need.
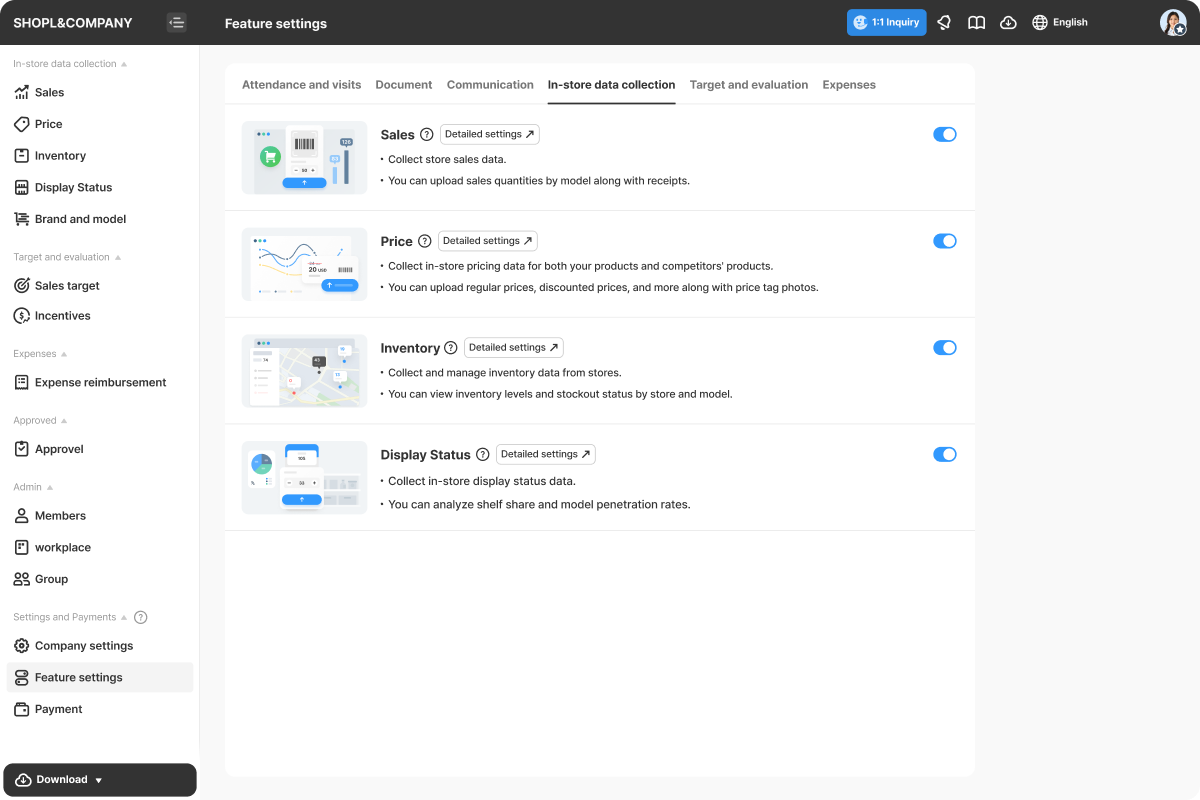
💡Before you can start using the In-Store Data Collection features, you must first configure [Brand and Model].
[Brand and Model] serves as the database for all four In-Store Data Collection features. All additions and updates to the brands and models you want to collect data on are managed from this menu.
In the PC Dashboard, go to the [Brand and Model] tab and register all brands and models you would like to track.
▸ Learn how to set up [Brand and model] >
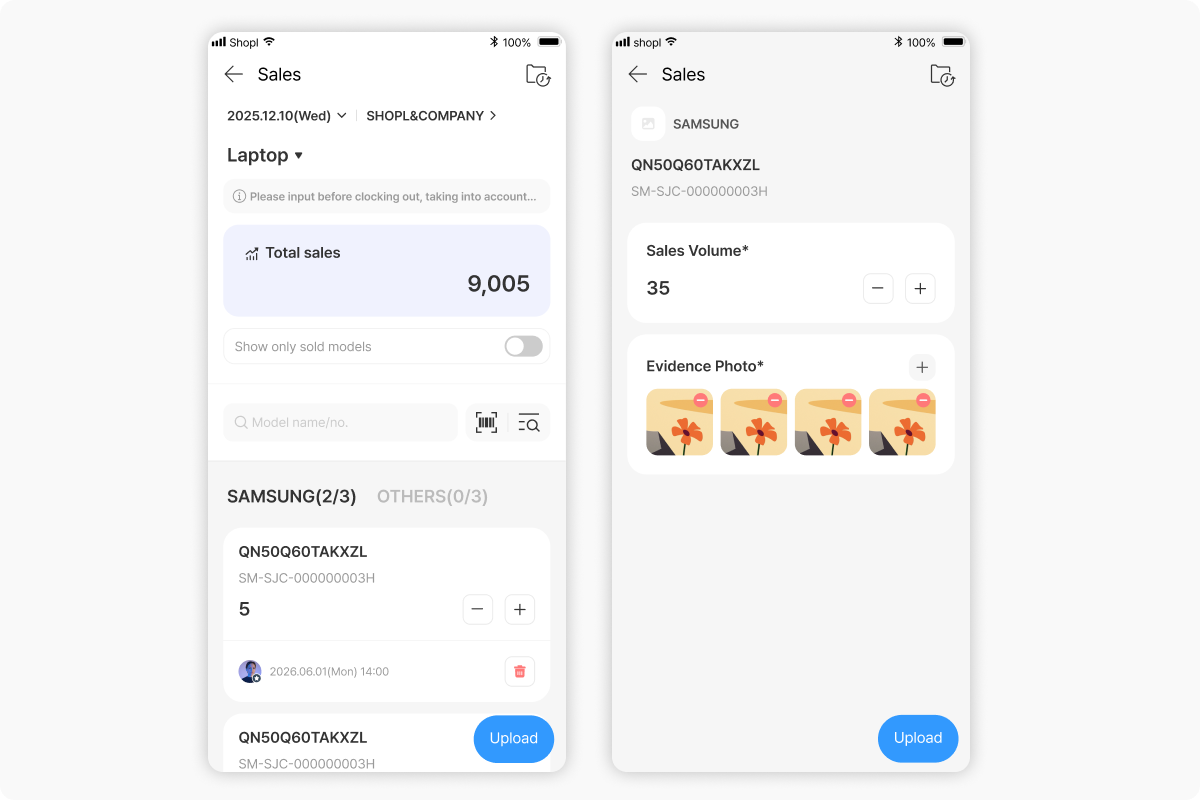
With the Sales feature, you can easily collect sales quantities by store and SKU, and monitor sales trends at a glance.
Employees can enter sales quantities for each product and, if needed, submit supporting documents such as sales receipts.
▸ Learn how to set up [Sales] >
With the Price feature, you can analyze competitor pricing, verify whether promotional prices for your products are correctly applied, monitor pricing status by store, and compare prices across distributors.

▸ Learn how to set up [Price] >
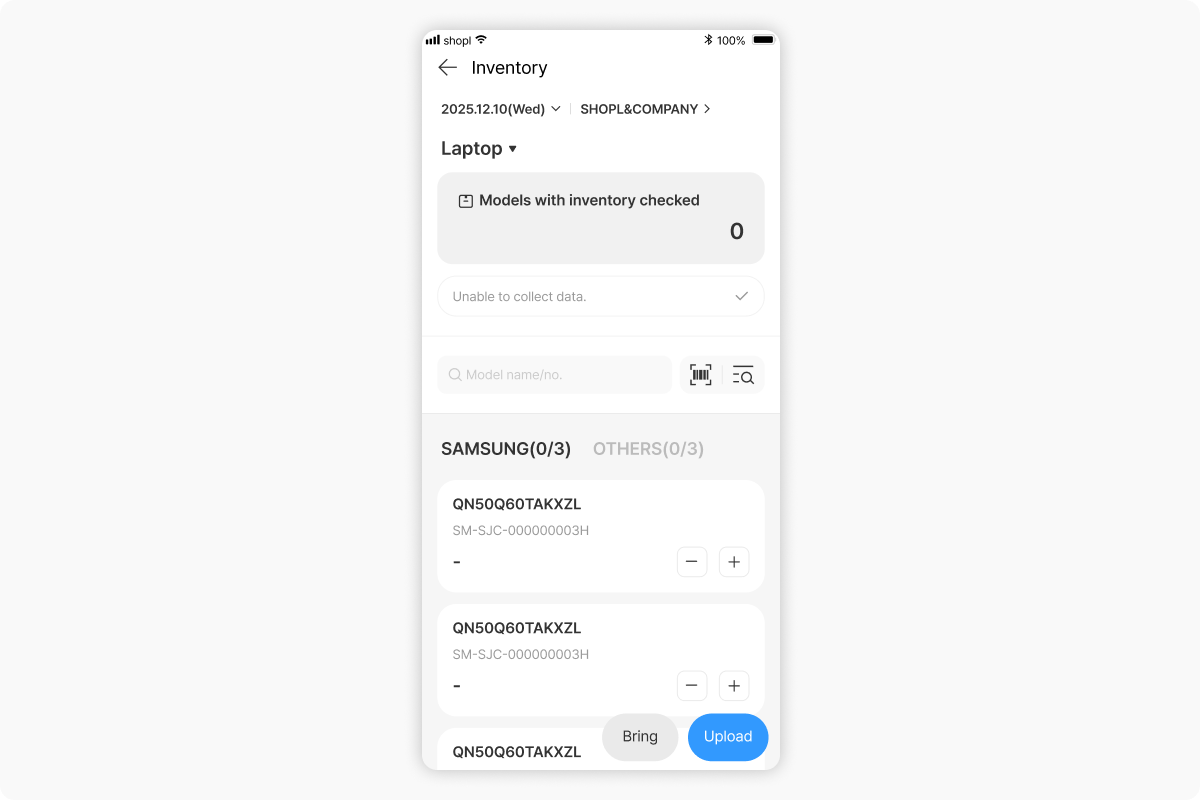
With the Inventory feature, you can monitor real-time inventory levels by store.
You can also use the map view to quickly identify stores with available inventory and easily track out-of-stock situations.
▸ Learn how to set up [Inventory] >
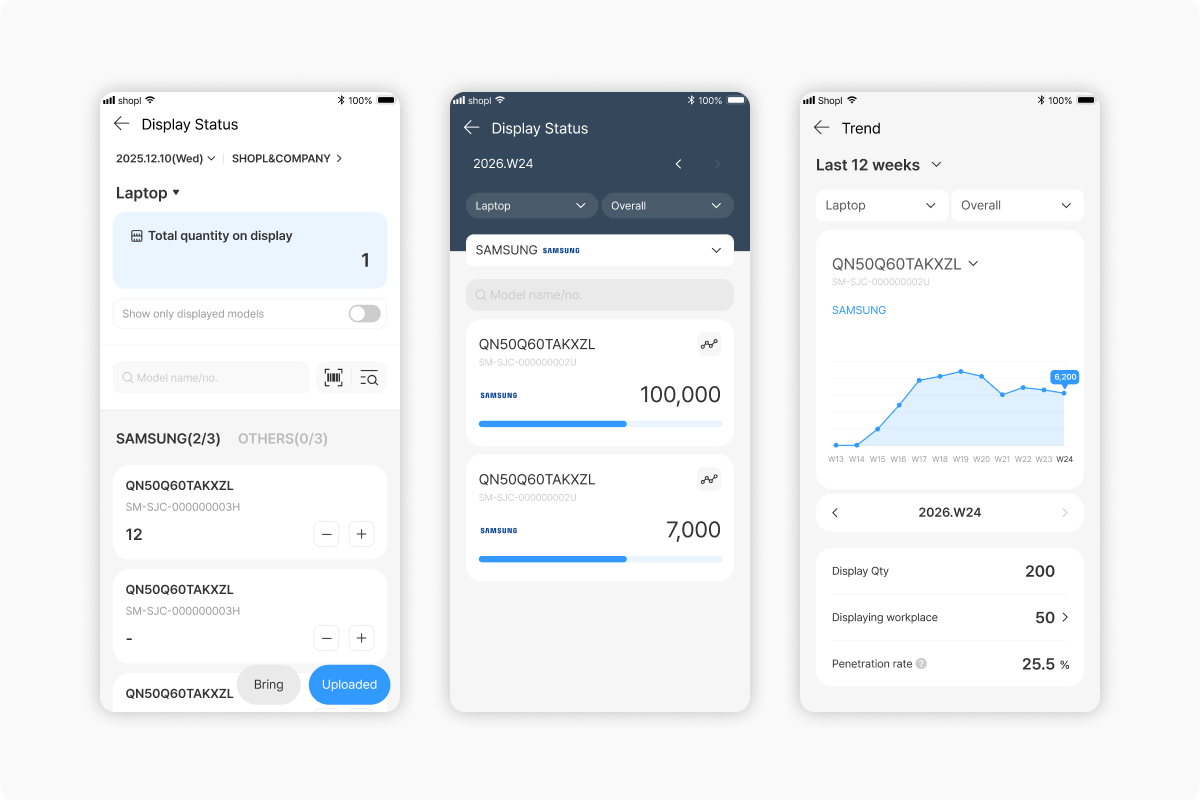
With the Display Status feature, you can collect display data for both your products and competitors' products, compare shelf share, and analyze model penetration by product model.
▸ Learn how to set up [Display status] >